

Hi there, friends!
Every time I take photos my main goal is to get it right on camera as much as possible. I really don’t like editing and the thought of spending hours behind the computer trying to fix an image has pushed me to learn and practice techniques that will allow me to edit my images with just a few adjustments.
There are a lot of things running through my mind when I am shooting, but today I want to share with you the main 3 steps I take to create my light and airy images.
1. Shoot in natural light:
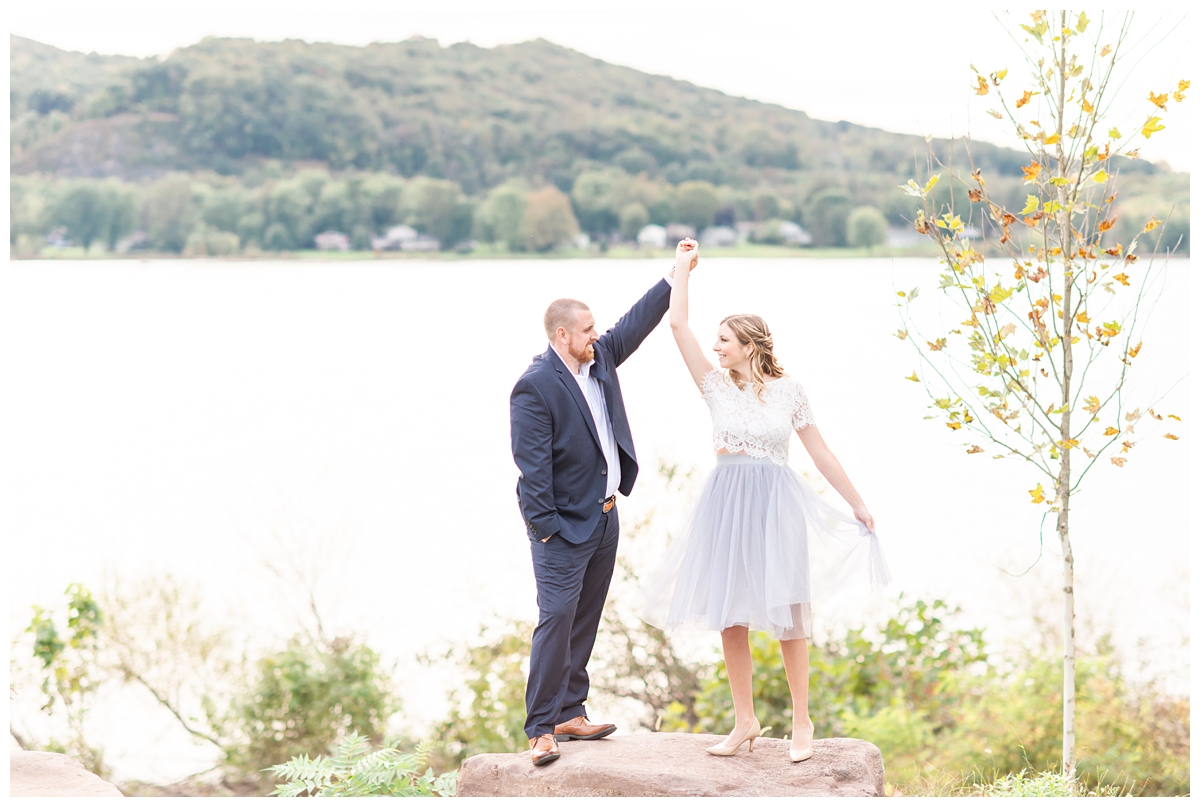
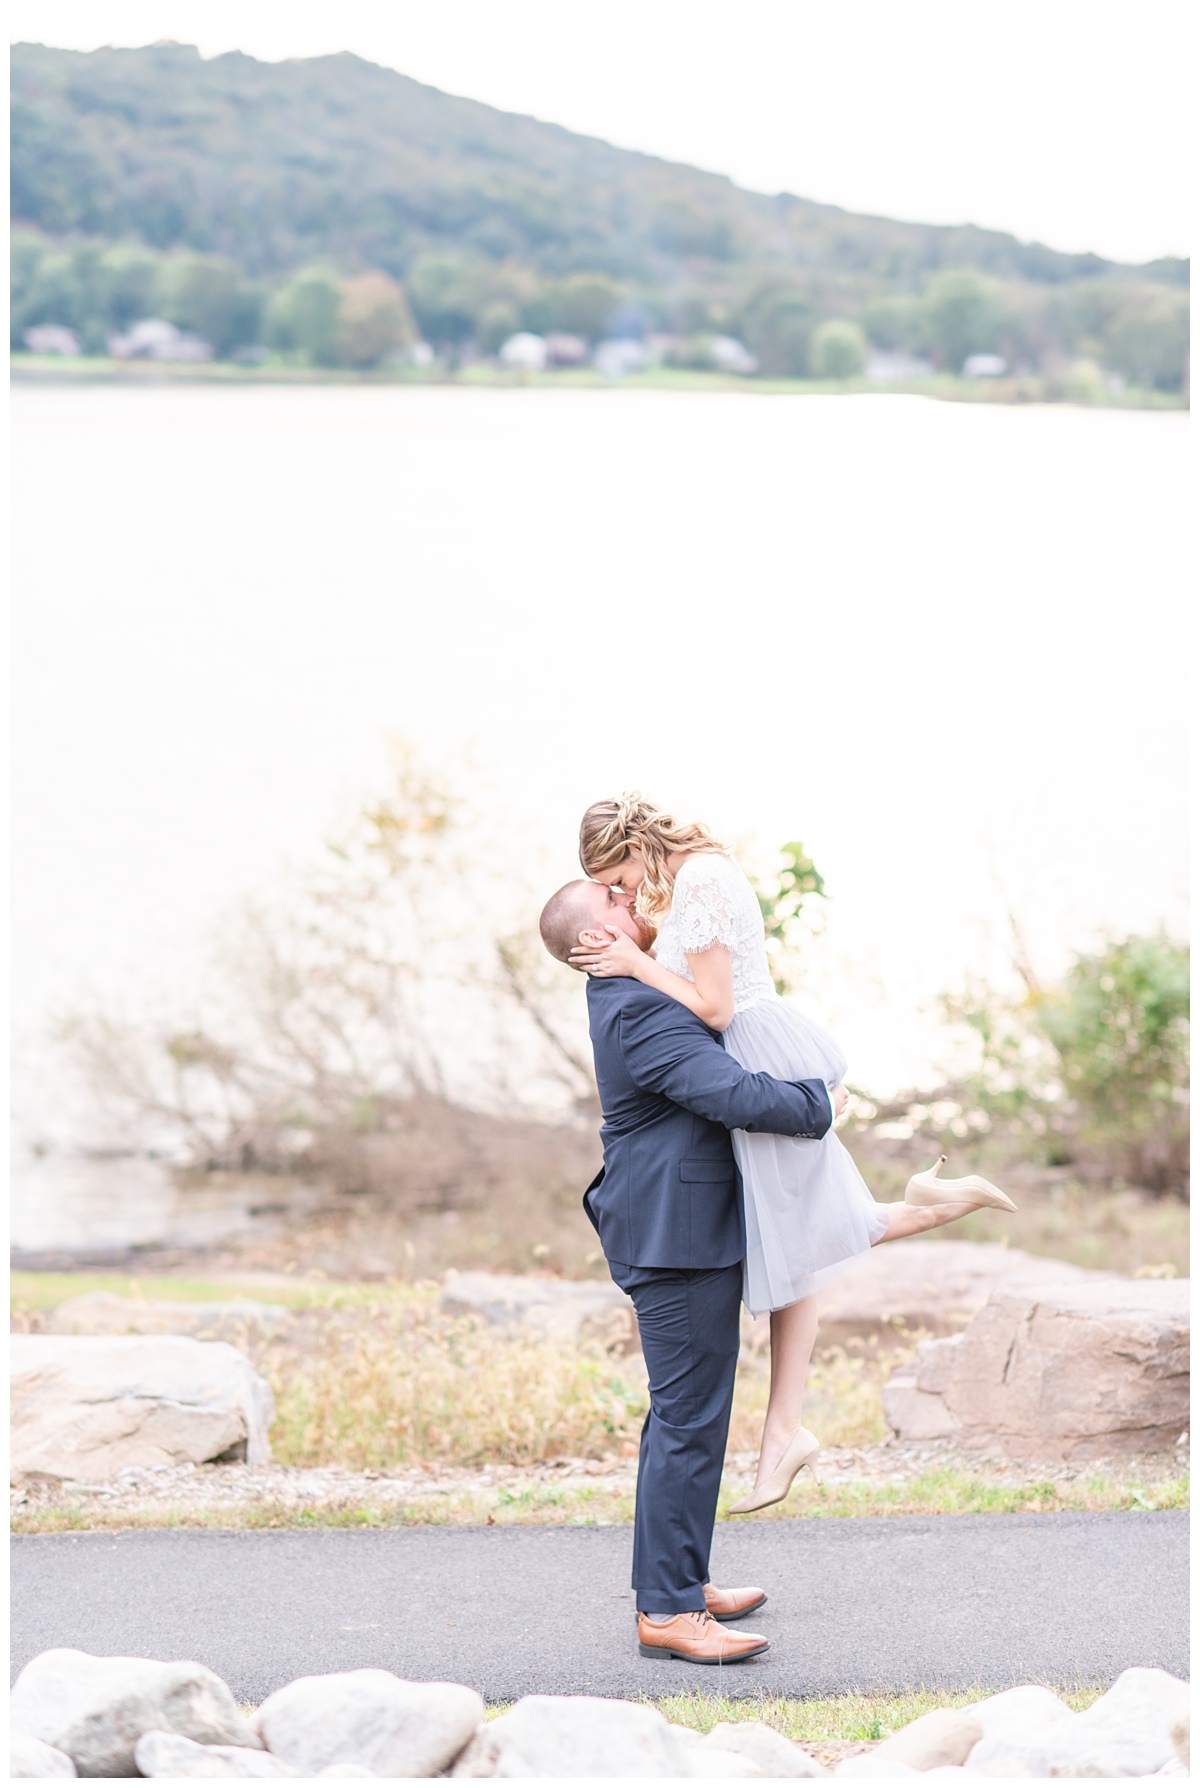
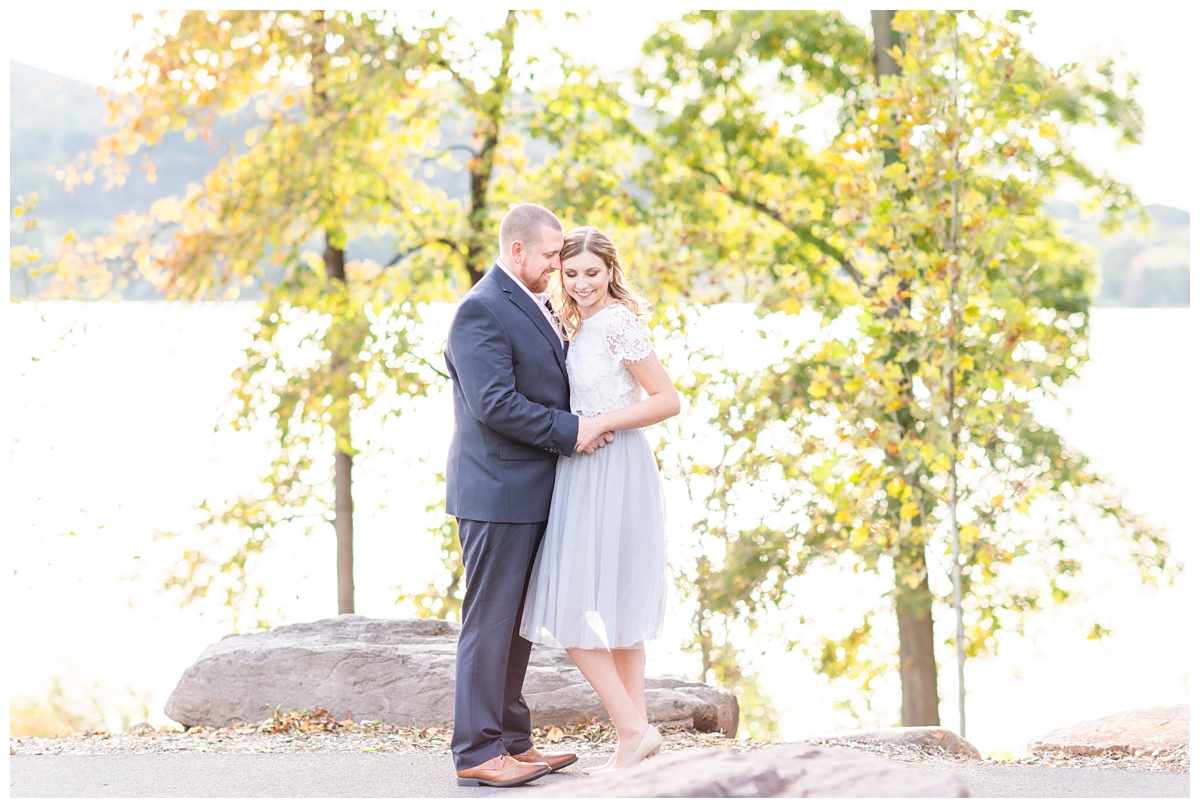
My number one tip to achieve light and airy images is to photograph in natural light, preferably during the golden hour. But if you can’t shoot during the golden hour, like on a wedding day, for example, my tip is that you find a good place with open shade.
Make sure you place your couple in soft and even light. Meaning the sun is not hitting them directly (especially their faces), causing harsh lines and split exposure. I also keep my eyes open to what I call “The Cheetah Effect”… you know that spotty light that makes your couple look like cheetahs? Yeah, that won’t look too good either.
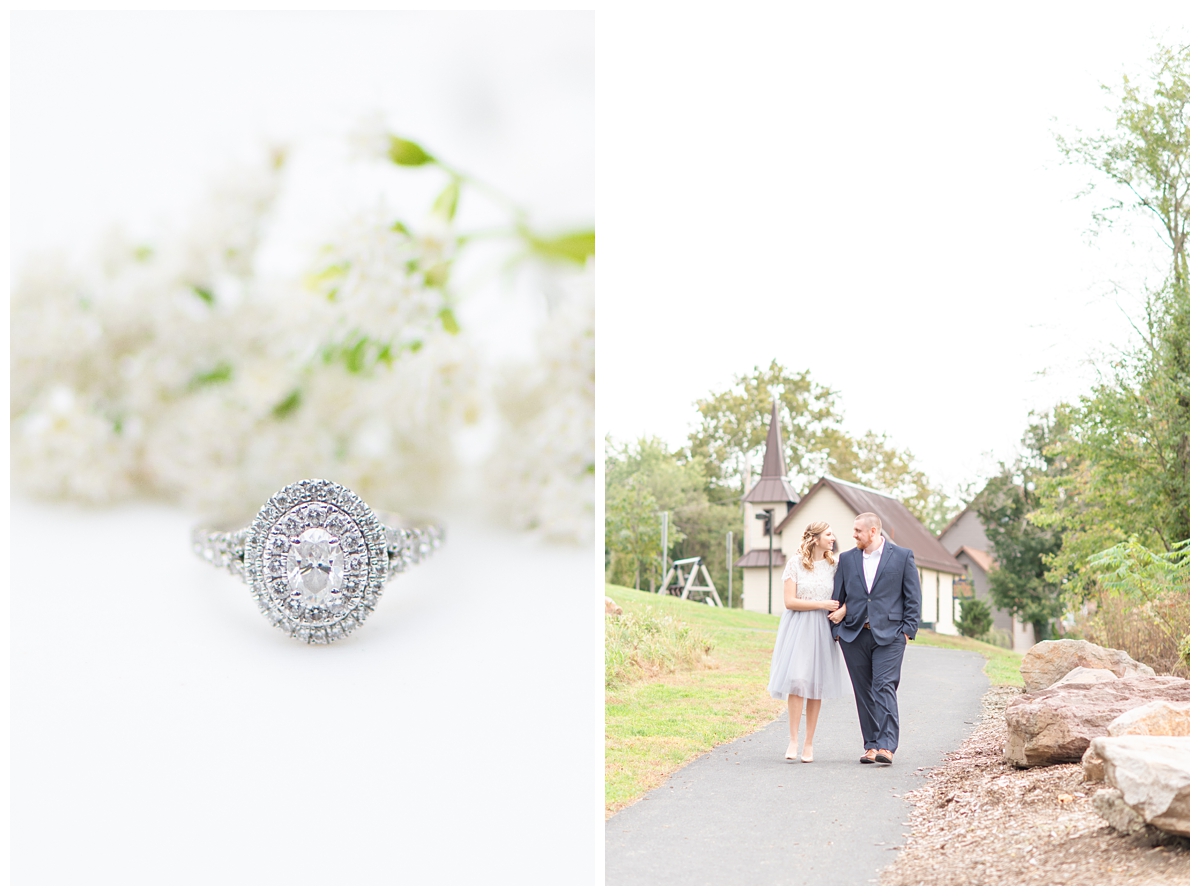
2. Look for a clutter-free and clean background:
When it comes to scouting locations for my sessions, or even for places within a wedding venue on a wedding day, my priority will always be light. However, after I find the best light source on location, I then start thinking about the background I will place my couple against.
To create a light and airy image that looks more editorial and high-end I always give preference to clean backgrounds in lighter colors. This simple step can immensely help you improve the overall look of your final images.
BONUS TIP: If you have to shoot in green areas, make sure you do not place your couples in front of tree trunks and heavy tree leaves like evergreens. They photograph very dark!
3. Set your aperture as wide as you can:
The secret for a light and airy image is to allow as much light as possible through your lens. Again, I’m talking about that beautiful soft and even light, and not harsh direct light. I usually keep my aperture around f2 or f2.2, unless I am photographing a large group.
Shooting on large apertures will also allow you to create images with a narrowed depth of field, where your subject will be in focus while everything else will look soft and defused.
I recommend that you invest in at least one fast, fixed lens, if you are interested in creating images that are more light and airy. A 50mm f1.8 is a good starter lens.

There you have it, friends! I hope that these 3 simple steps help you to create images that you are proud of!
Looking for more tips on how to grow your photography business?
Become a JTP insider and receive my free e-book “3 Steps to Book More Brides”. Get your here!
–> You may also like to know “What’s in my Camera Bag and How I use my Gear”


+ COMMENTS
add a comment