

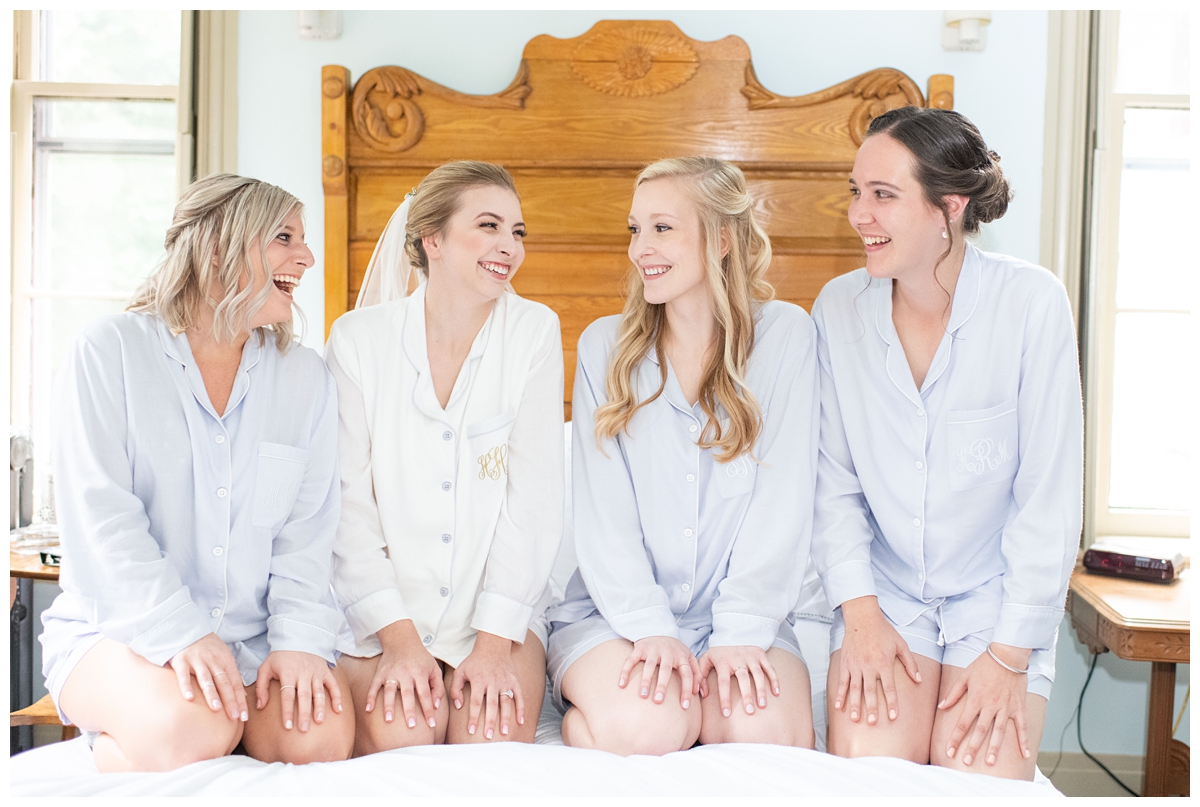
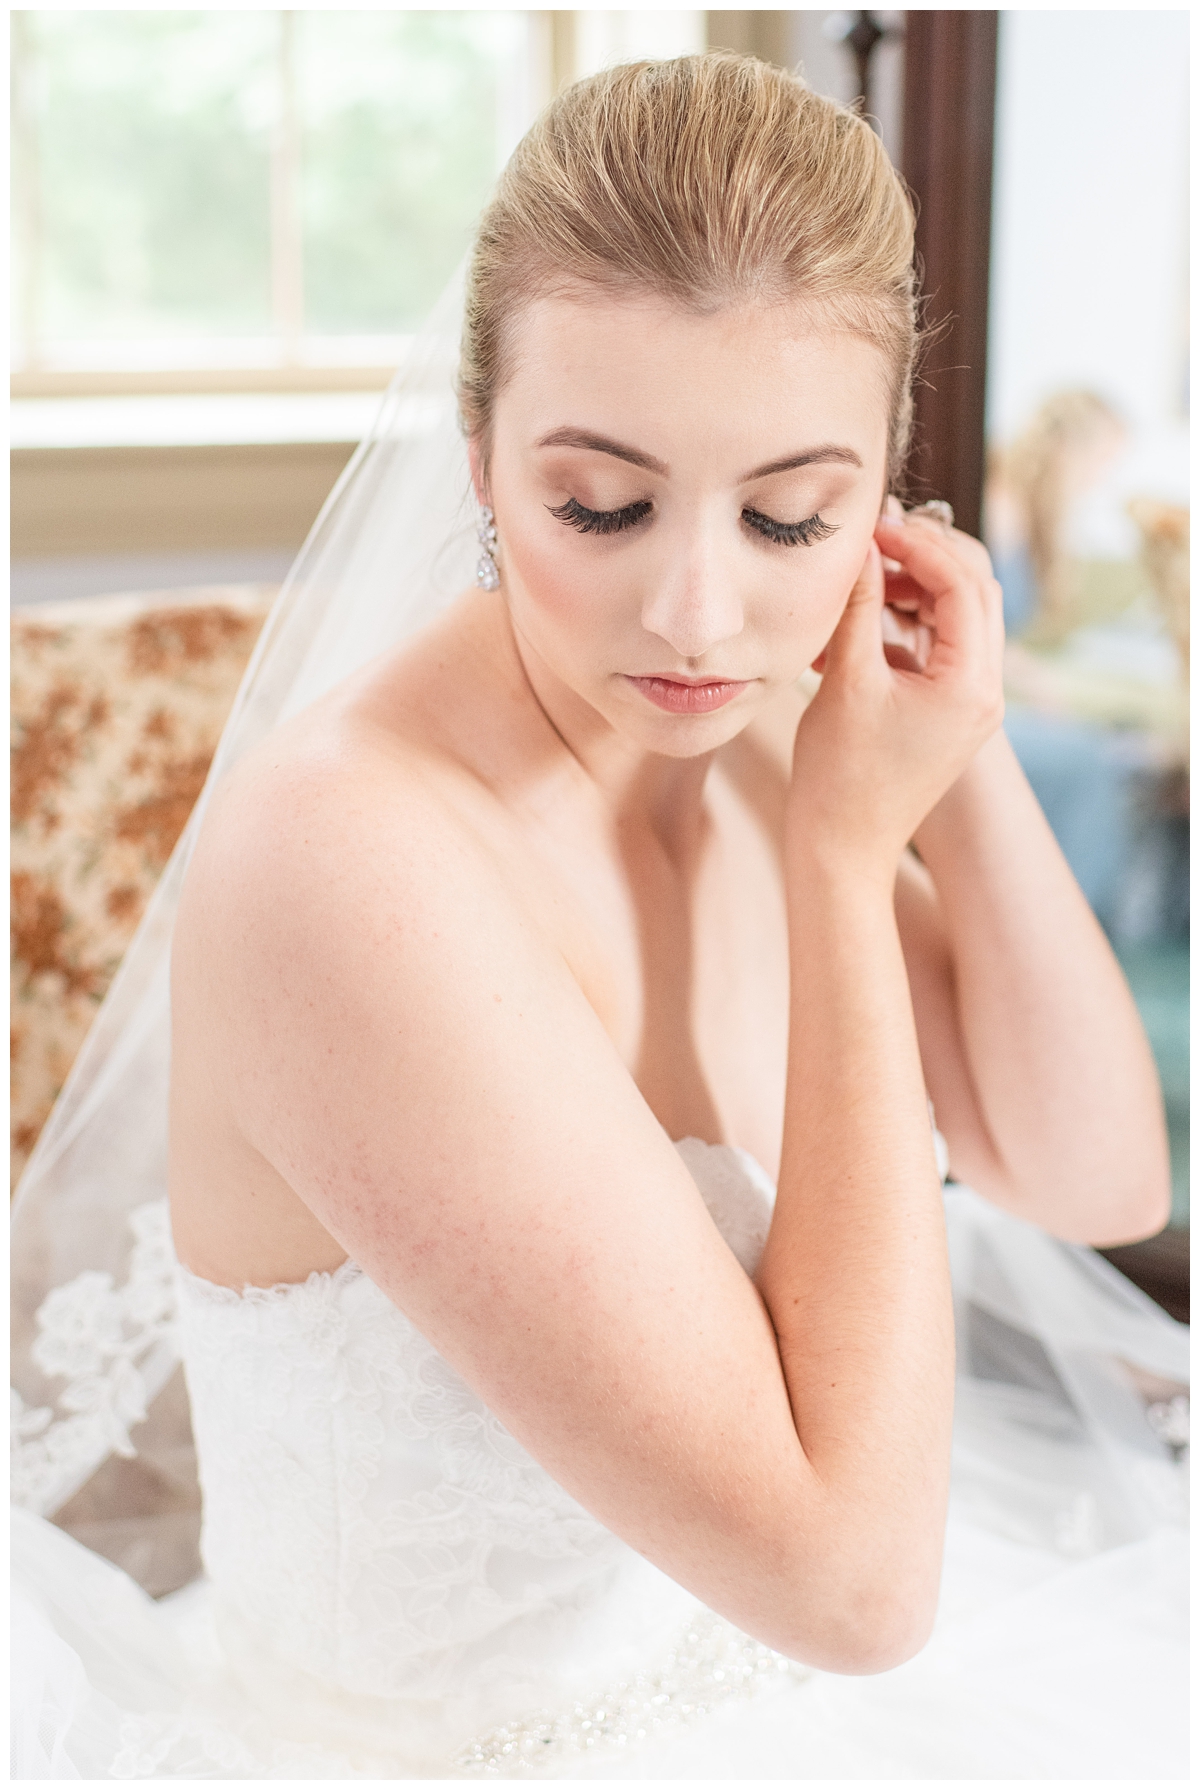
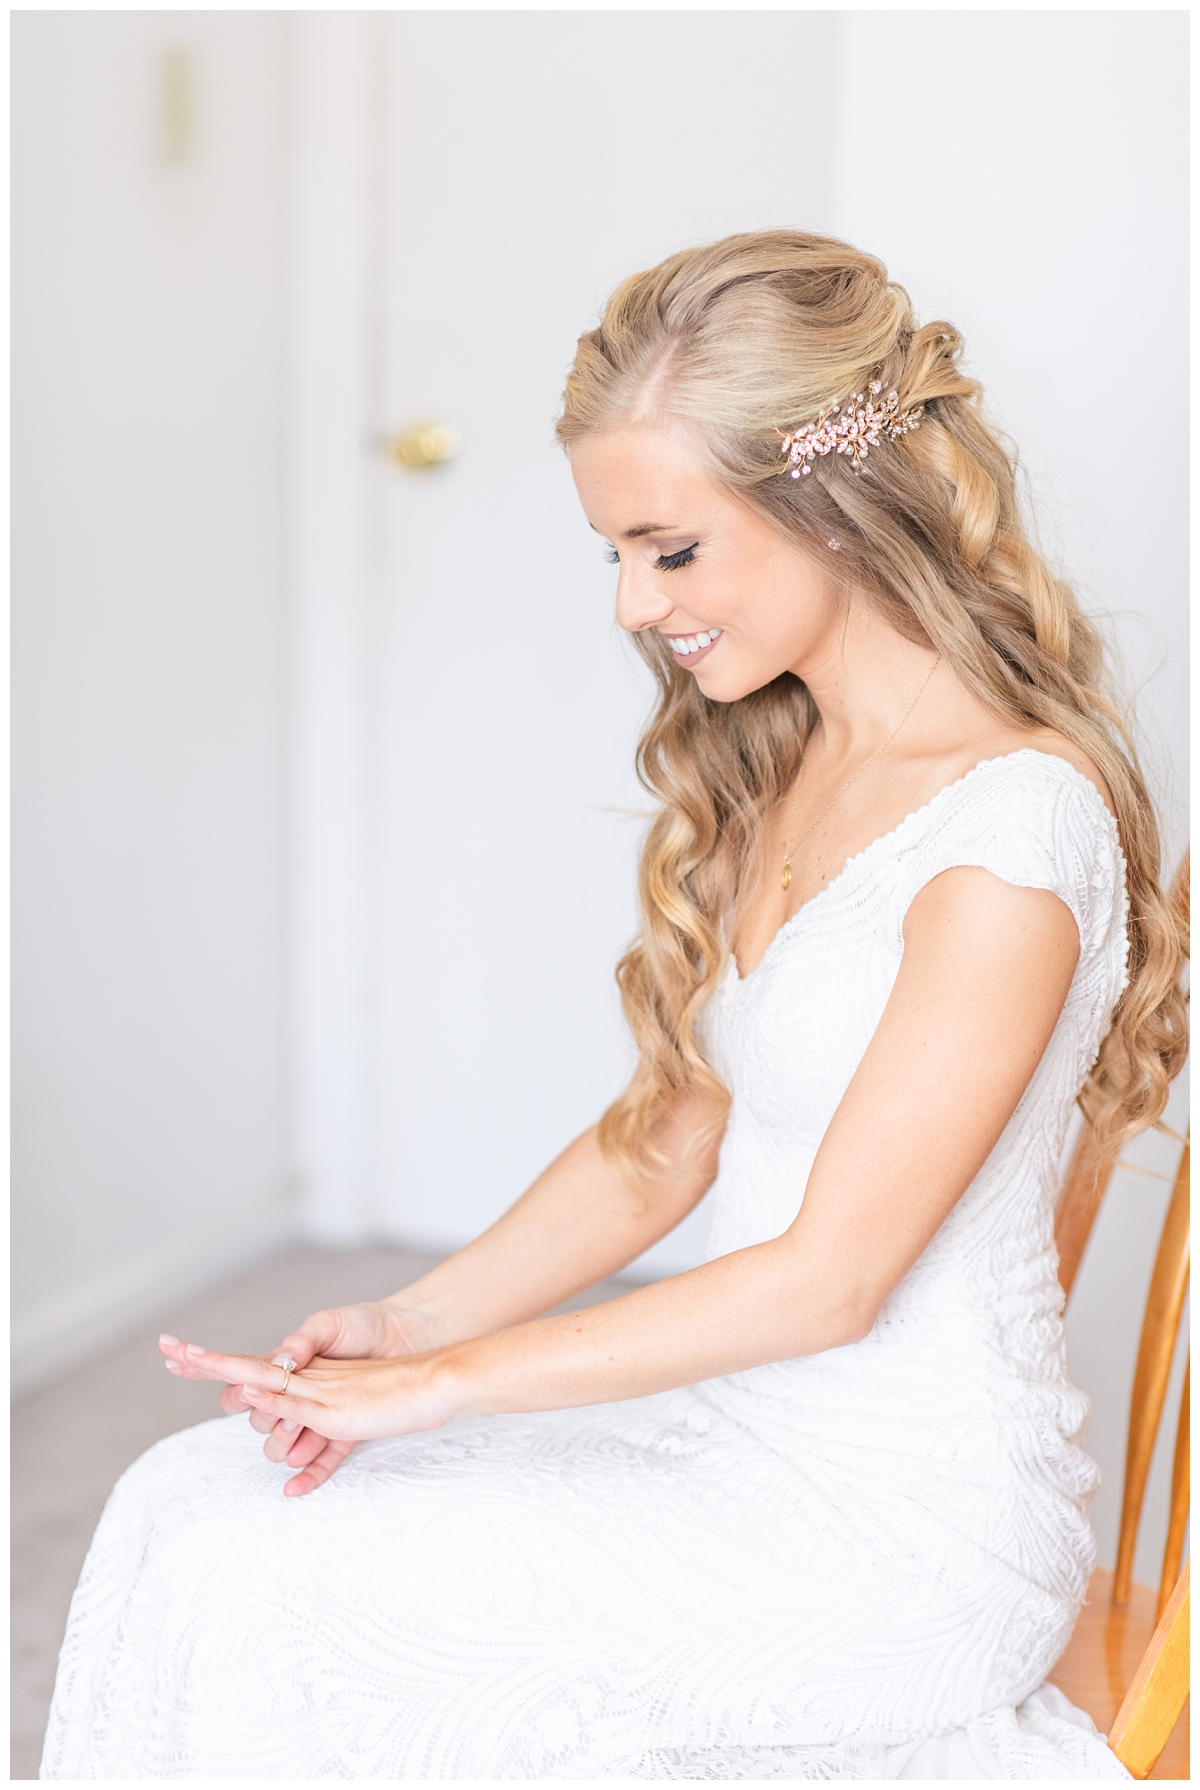
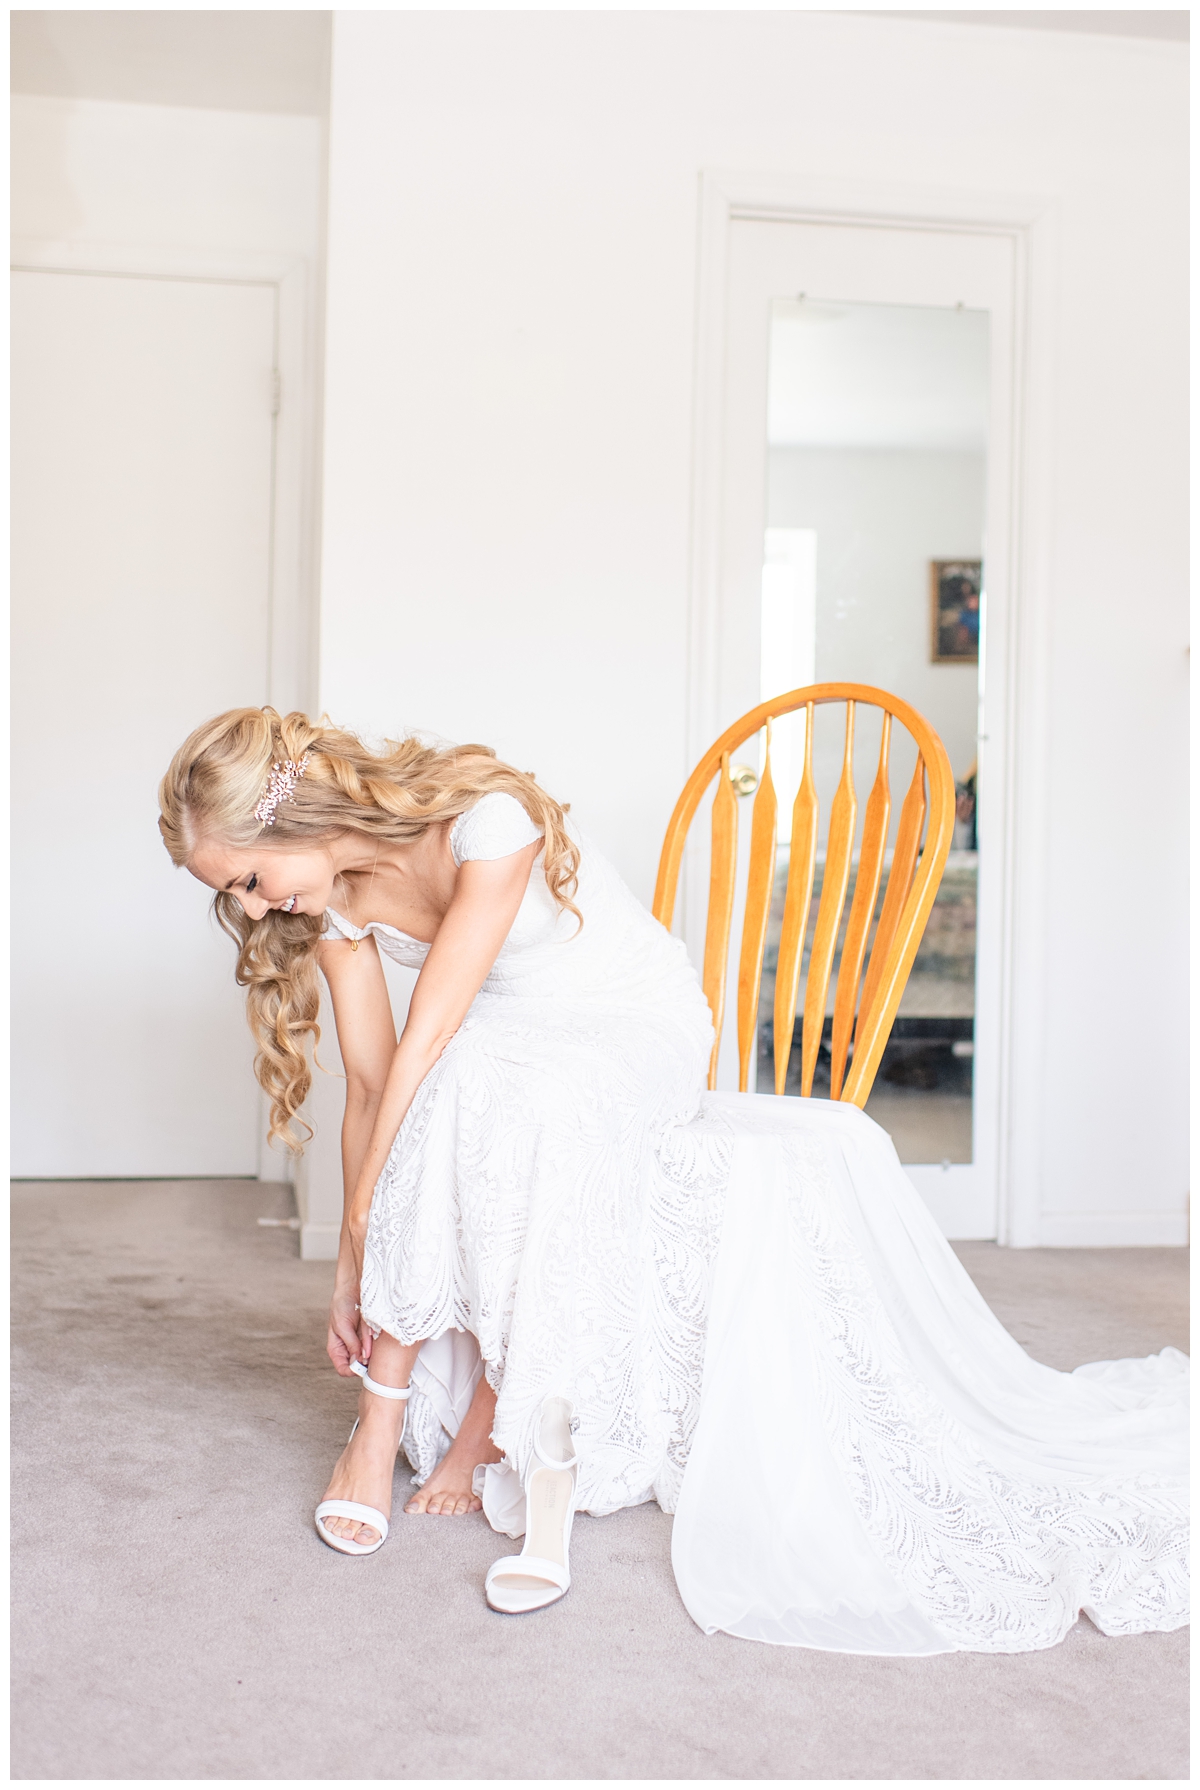
Would you believe me if I told you that the images below were all taken while using ON-CAMERA flash?
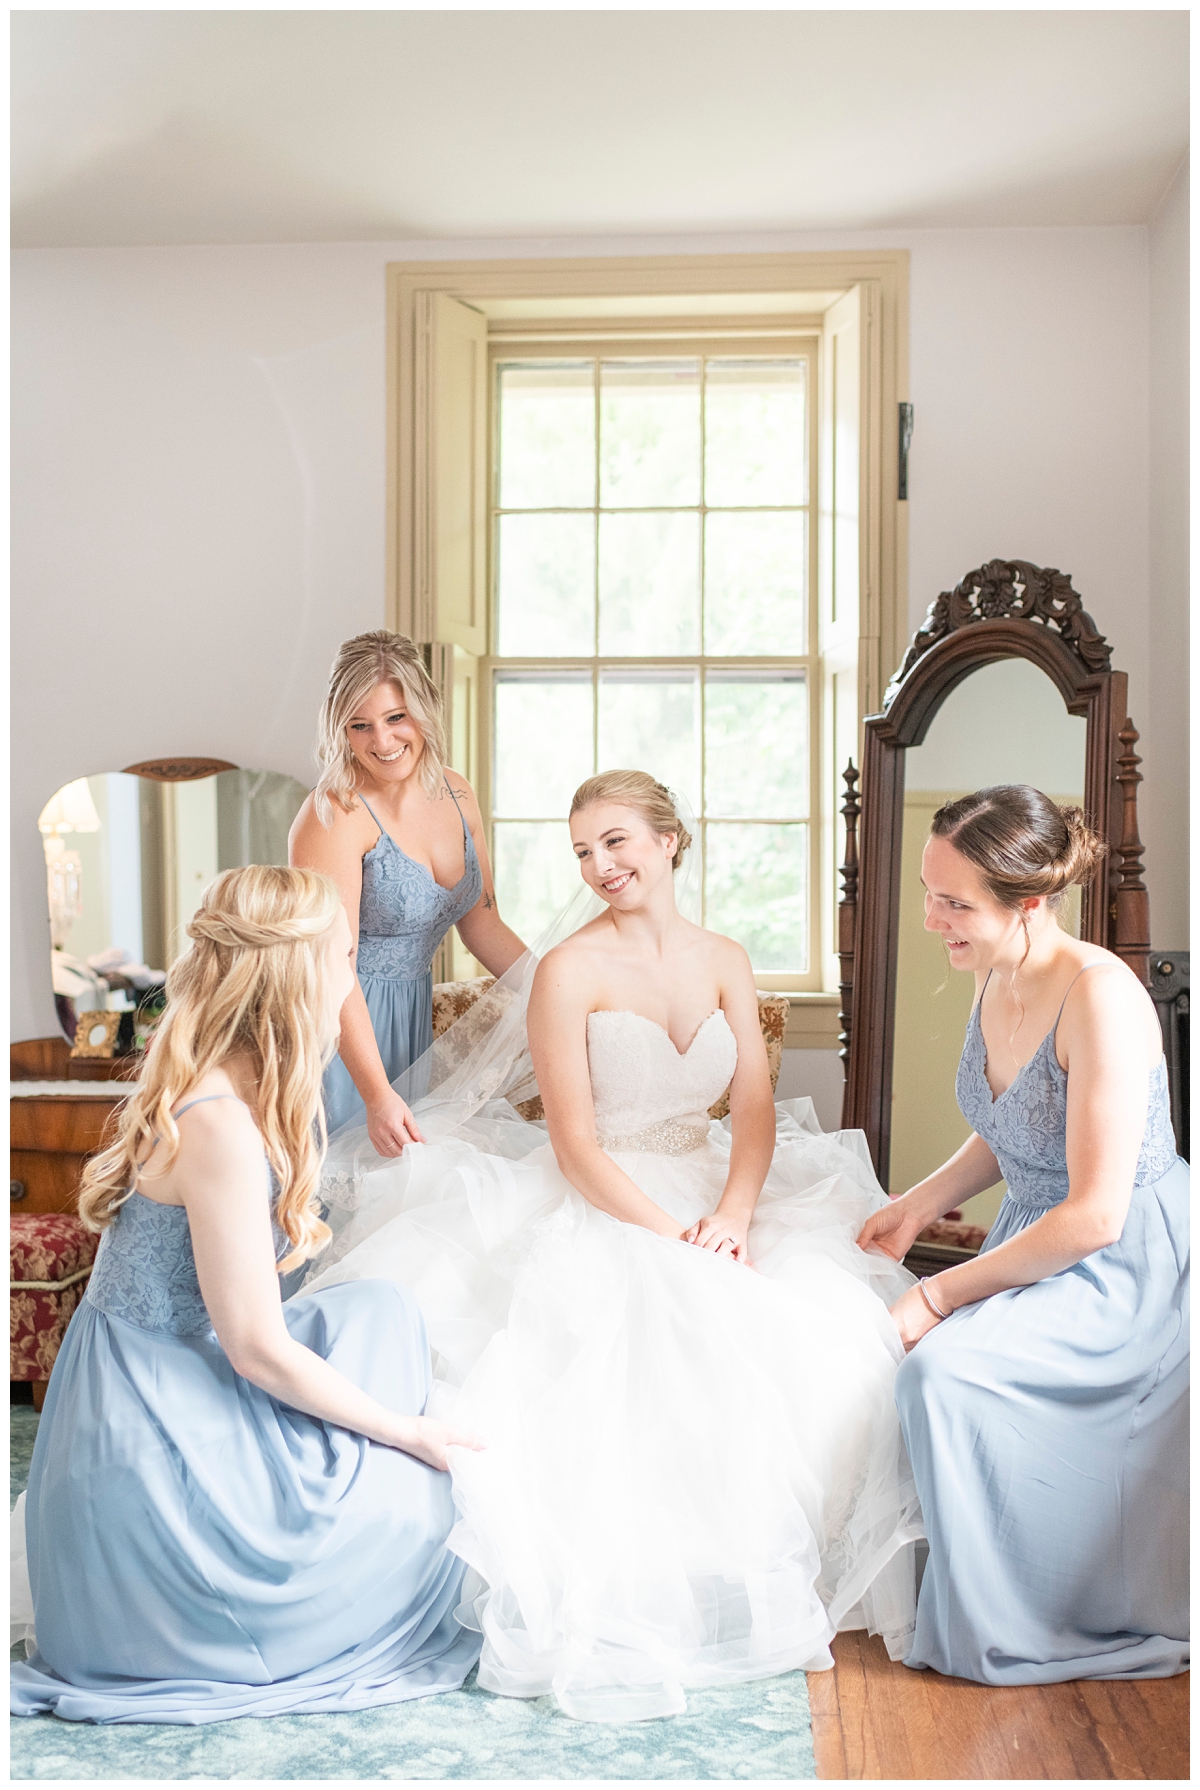
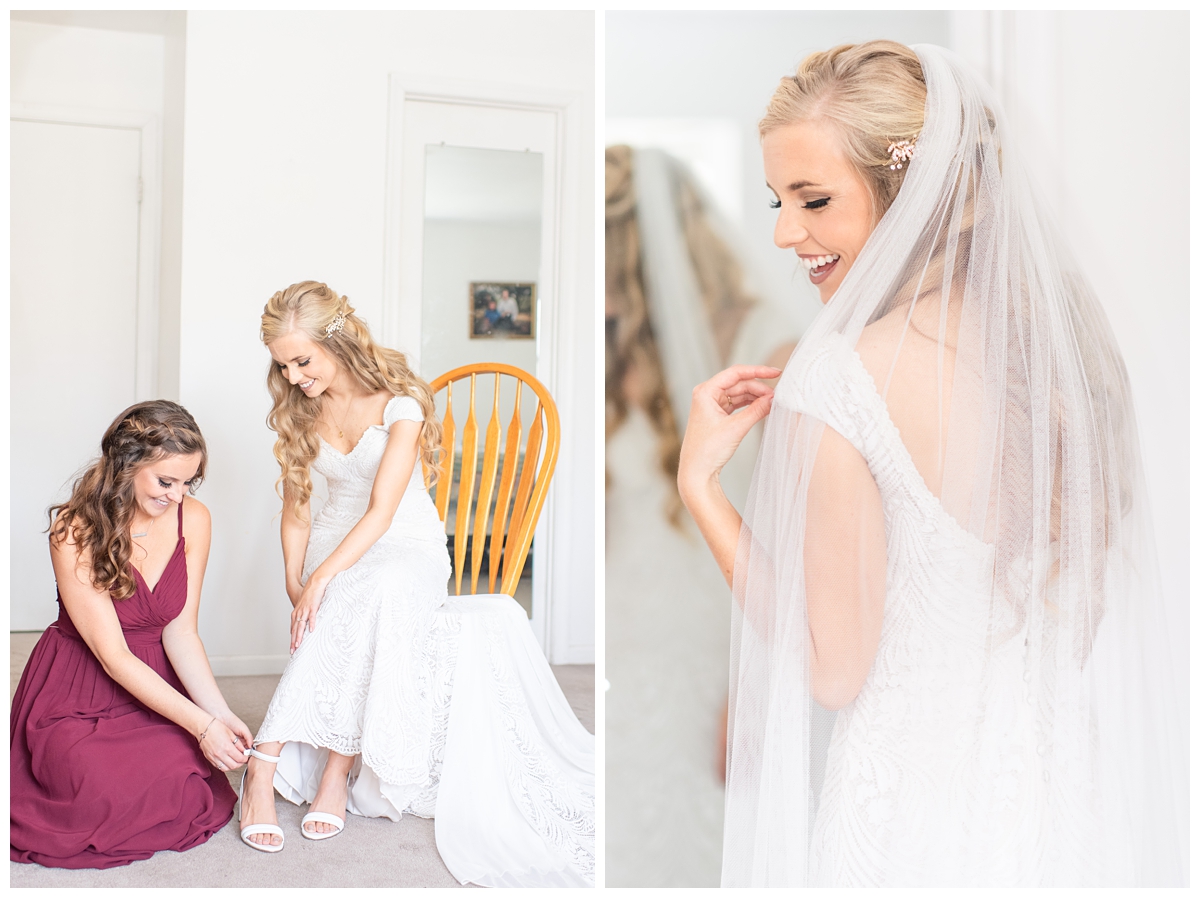
You heard it right, I used on-camera flash to take these photos and they still look soft, beautiful and just as if I was using only natural light.
Flash used to scare me, like reaaaaally scare me to the point I avoided it at all costs. Off-camera flash was even worse! Almost a forbidden word on my vocabulary. But those days are gone and left to rest. And to be honest, I kinda like the challenge of using my flash system to create images that I am proud of. And the reality is: sometimes we don’t even have an option, we have to use the extra source of light.
Even though my camera handles low light situations very well, I still prefer to use flash when needed in order to keep the quality of the image as high as possible.
So, today I want to share with you 3 tips that will immediately help you to take better photos when using on-camera flash indoors.
1. Low flash power, high ISO
This is my go to rule whenever I’m using flash. It doesn’t matter the location or if I’m using on-camera or off-camera flash, I always set my camera to a high ISO and my flash to a lower power.
The reason why I do this is to allow my camera to capture as much ambient light as possible (with the high ISO) and to use my flash to add soft light to the location, emulating natural light.
2. Bounce and diffuse the light
The second thing I do is to make sure I’m using diffused light. I do that by bouncing the flash and by using the diffuser that comes built-in on the flash unit (I do not use any other types of diffusers for on-camera flash. When using off-camera flash, depending on the situation, I do use external diffusers. But this is a topic for another day!)
When it comes to bouncing the light make sure you are using a light in color, clear wall or ceiling.
What I mean by that is that you should always look for white, cream, off-white wall and ceilings to bounce your light of. If you use a red wall, for example, you will actually bounce red tones into your subject and that can create unflattering skin tones.
If you are in situations when you absolutely need to use flash but the surroundings are not ideal to use for bouncing, I suggest you use a bouncing card/reflector instead.
3. Direction of the light
The 3rd thing you should pay attention to is the direction of the light. How should you choose the best wall to bounce the light of?
I always start by analyzing the room. Do I have any natural light source I can use? Is the room evenly lit or the light is split?
If the room is evenly lit, you can bounce it from any wall or ceiling, it won’t matter much (doesn’t matter the intensity of the available light in this case. We are not checking if there’s enough natural light available to avoid flash, we’re checking how the available light is distributed within the room. Makes sense?)
If the room has split light I try to bounce the light from the wall on the darker side of the room. This will help to make the room look more even in your final images.
Another thing to pay attention to is to have your subject facing the wall you’re bouncing the light from (or any light source). This will allow the light to illuminate under their eyes and will help creating also beautiful and even skin tones.

I hope these 3 tips help you next time you’re shooting with your on-camera flash.
Let me know on the comments below if you implemented these changes and how did they impact your final images!
And as always, if you have any questions, just let me know!
—-> You may also enjoy reading: 3 tips to stop attracting ‘bridezillas’ and start working with couples you adore!


+ COMMENTS
add a comment